
DIY Garden Boxes
Hi there!
We're back. I can't believe we went all of March without a post. Things were happening around the household, but mostly prep work for this Spring. If you're curious about what's to come, keep scrolling after the tutorial here.
Without further ado, here's the garden box project!

To start with, Bob came up with a really intricate schematic
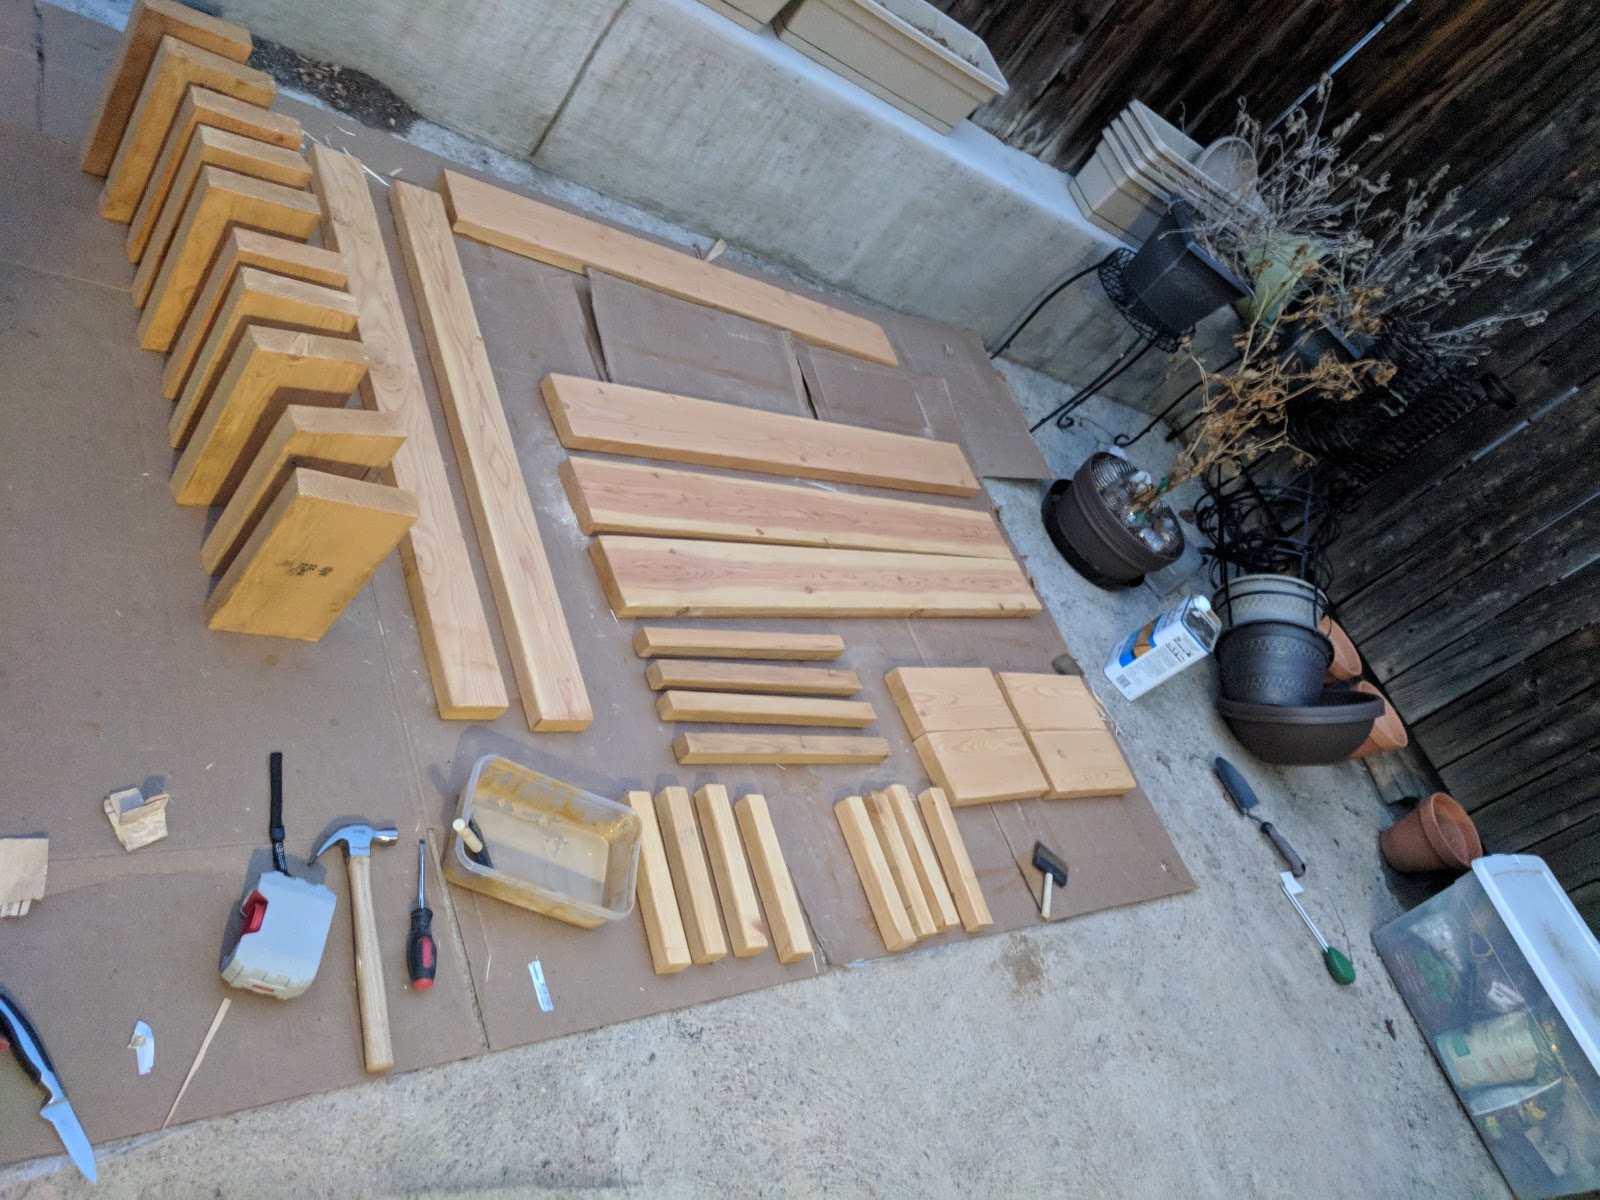
We then headed to Home Depot to get the wood... and the saw was broken. So we headed to a different Home Depot in the area to get the wood. They cut it for us into approximate sized pieces.
We bought a treated fir and some yellowish stain. We considered using cedar, but it was just prohibitively expensive. All told, we paid about $100 and got enough wood for two large and one small planter box.
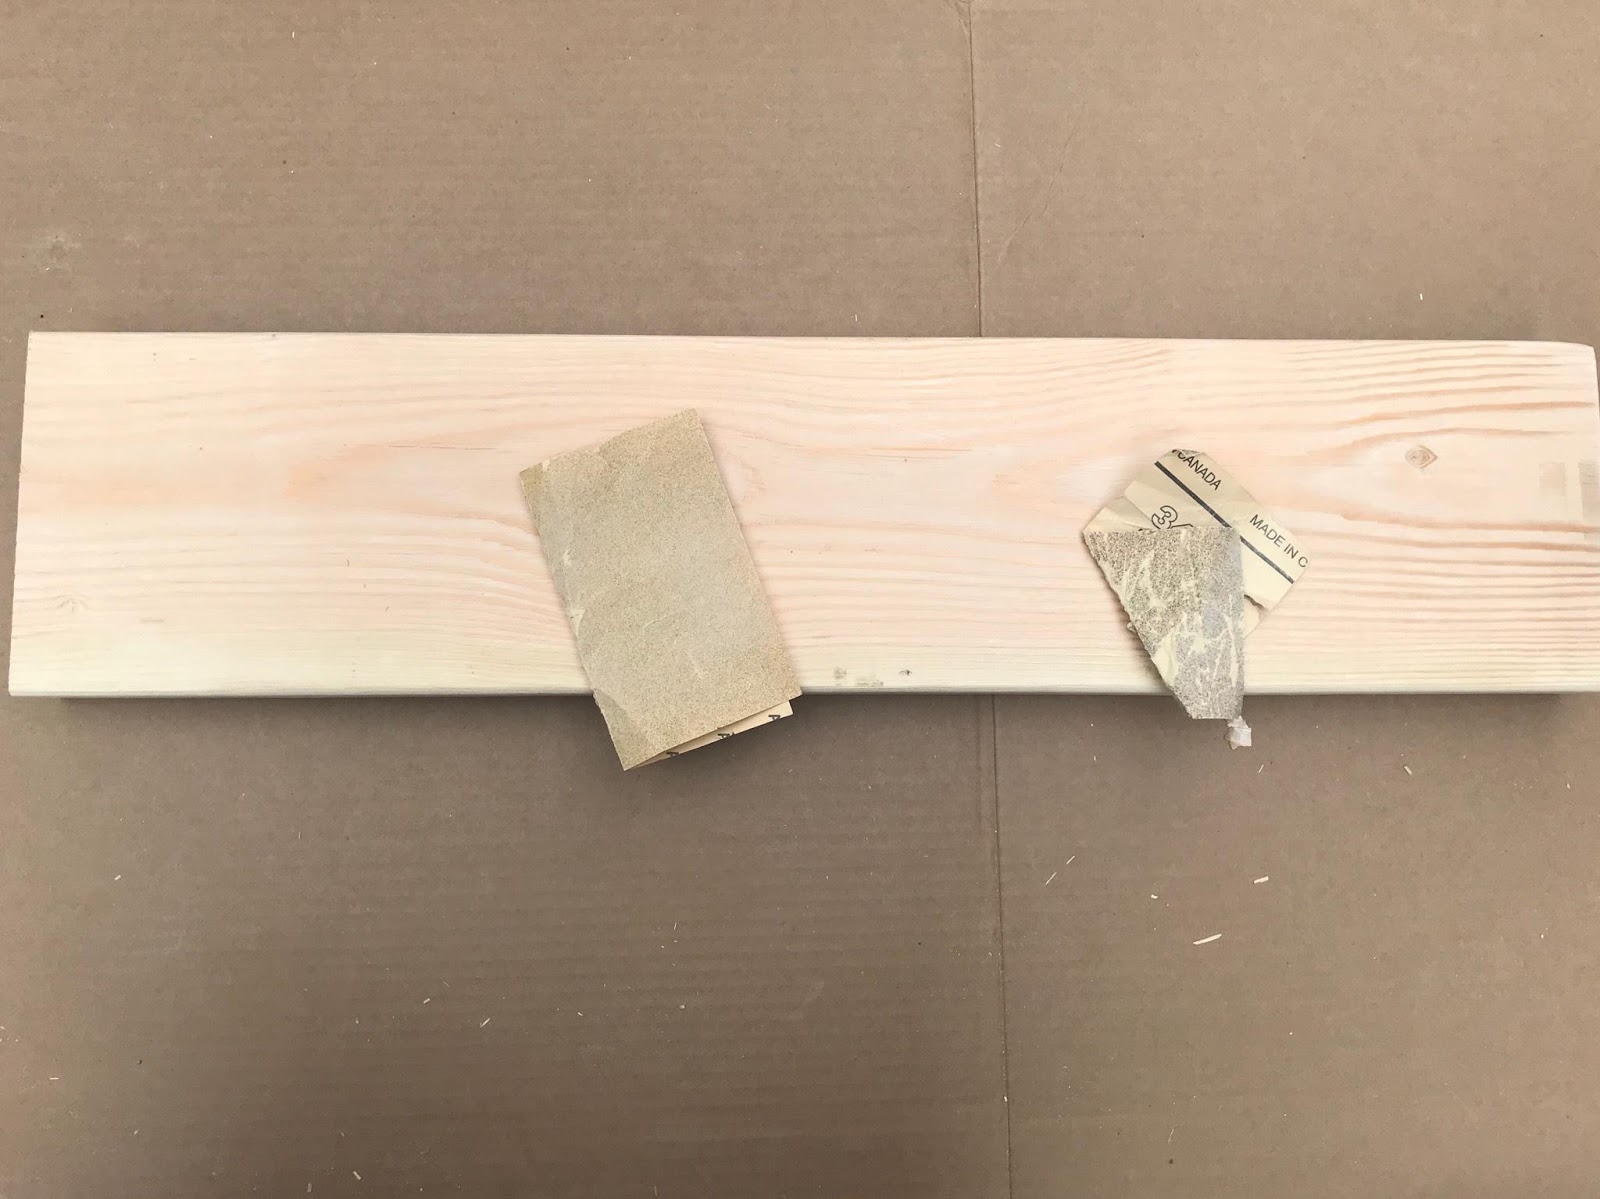
The wood was pretty rough, so we started by sanding it smooth to avoid splinters. This was a huge pain.

Then, once everything was sanded, we proceeded to stain it. Because the wood was so rough, we were worried a natural sealant wouldn't really last. Plus, the wood was really light because it was inexpensive. So, we picked a combination stain and sealant (originally made for deck wood). Don't worry, we plan to line the boxes with a nonporous liner so the finish doesn't leach into the food.

With the type we chose, a sponge brush seemed to make the most sense. It was a lot of wood to work on.

Once everything was prepped, we were ready to run some tests on some of the leftover wood pieces to try them. It's also how we discovered 2x4's actual dimensions are 1.5" x 3.5". We felt kind of bad for Home Depot because we had to do so many trial and error things we ended up making a lot of returns.
Eventually, we got the right screws.
Bob got an assist from his friend to put these together. We also broke our old drill, a couple of drill bits, and had to recut the wood for all of this. It was a lot of effort.
First we pre-drilled the wood with a drill bit about the width of the screw.

Once we were done with that, the guys re-cut and screwed the wood together. They did this while I was at work, so I don't have a lot of good pictures here.
This is what the finished boxes look like:

Aren't they beautiful? I'm really proud of the work the boys did. Etoile definitely approves!

I can't wait to get these seedlings into the boxes, but we're zone 5b so our last frost day won't be here until May 15th. Instead, we're starting them inside and sprouting them while it's too cold to plant. The idea is to transplant them outside when the weather will let them thrive.

Spring is in the air, and I can't wait for our garden!
~K
P.S. Here's what we were up to while we were away:
We're back. I can't believe we went all of March without a post. Things were happening around the household, but mostly prep work for this Spring. If you're curious about what's to come, keep scrolling after the tutorial here.
Without further ado, here's the garden box project!

To start with, Bob came up with a really intricate schematic
 |
| I have no idea what any of this means, but it makes sense to him so I rolled with it. |
We bought a treated fir and some yellowish stain. We considered using cedar, but it was just prohibitively expensive. All told, we paid about $100 and got enough wood for two large and one small planter box.
The wood was pretty rough, so we started by sanding it smooth to avoid splinters. This was a huge pain.
Then, once everything was sanded, we proceeded to stain it. Because the wood was so rough, we were worried a natural sealant wouldn't really last. Plus, the wood was really light because it was inexpensive. So, we picked a combination stain and sealant (originally made for deck wood). Don't worry, we plan to line the boxes with a nonporous liner so the finish doesn't leach into the food.

With the type we chose, a sponge brush seemed to make the most sense. It was a lot of wood to work on.
Once everything was prepped, we were ready to run some tests on some of the leftover wood pieces to try them. It's also how we discovered 2x4's actual dimensions are 1.5" x 3.5". We felt kind of bad for Home Depot because we had to do so many trial and error things we ended up making a lot of returns.
Eventually, we got the right screws.
 |
| The Goldilocks screws |
First we pre-drilled the wood with a drill bit about the width of the screw.

Once we were done with that, the guys re-cut and screwed the wood together. They did this while I was at work, so I don't have a lot of good pictures here.
This is what the finished boxes look like:

Aren't they beautiful? I'm really proud of the work the boys did. Etoile definitely approves!

I can't wait to get these seedlings into the boxes, but we're zone 5b so our last frost day won't be here until May 15th. Instead, we're starting them inside and sprouting them while it's too cold to plant. The idea is to transplant them outside when the weather will let them thrive.

Spring is in the air, and I can't wait for our garden!
~K
P.S. Here's what we were up to while we were away:
- Got countertop quotes for the quartz counters
- Measured and learned how to do the buildups
- Took a class on how to tile (did you know you can do these at World of Tile for free? I'm getting our tile from there, and they offered me a DIY class that was very informative and helpful. They let me play around with some tile, let me use the tile saw, and taught me how to mix the mortar and grout)
- Started seeds for the garden
- Put up the greenhouse
- Bought the wood for the garden boxes
- Started up our facebook and instagram accounts! If you like what you see here, follow over there for more projects. I seem to update insta the most if this month is a representative sample.
For now, we have had to shelve a lot of the kitchen stuff - rather than financing the countertops, we're going to wait until the money comes in and then pay it all at once. Of course, the tile has to wait for the counters, so the only thing I can really do in the kitchen is build ups. It's on my spring to-do list, never fear.

Comments
Post a Comment